



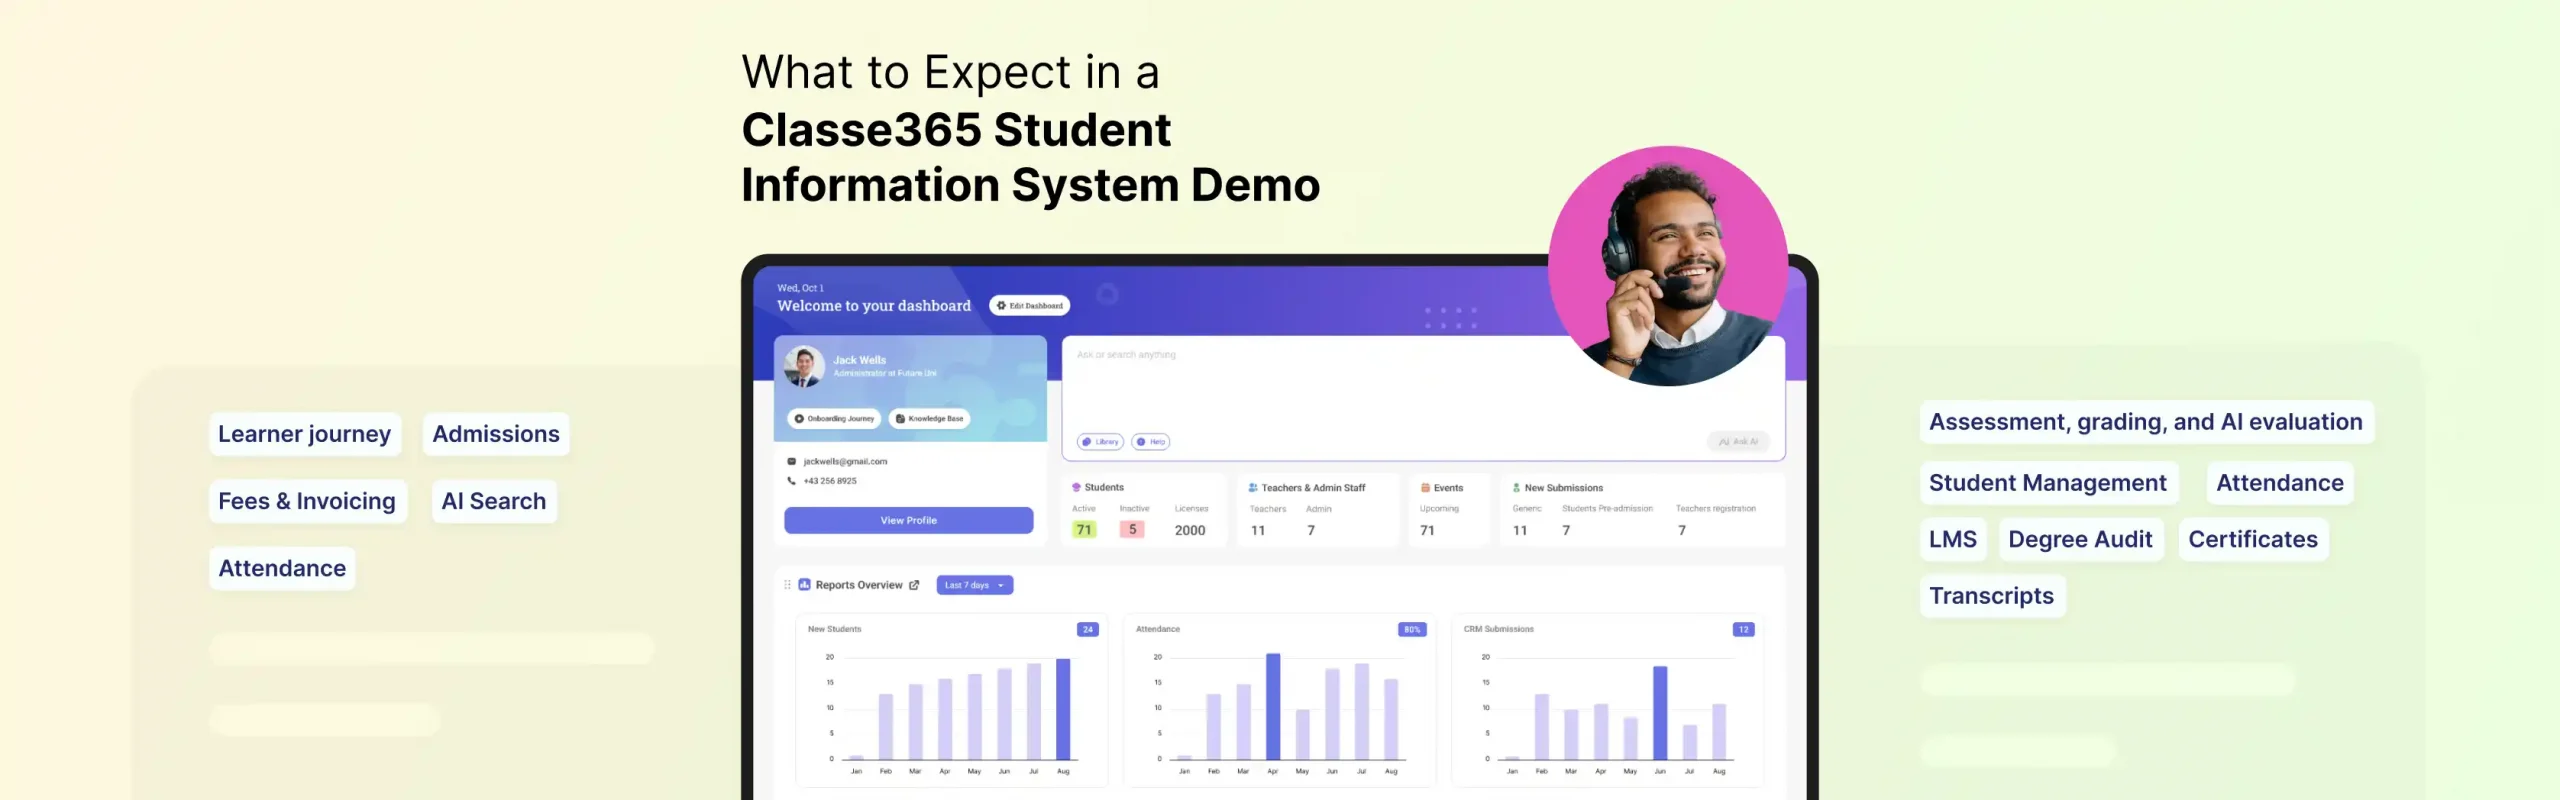
You are about to sit through a Classe365 student information system demo. Or you are thinking about booking one and want to know what you are walking into before you give up an hour of your day.
Either way, this guide shows you every module the demo covers, in the order it actually runs.
Each module in this walkthrough covers Classe365’s education management software, which also functions as a full student information system for schools looking to replace disconnected tools with one platform. Here is everything it covers:
- The learner journey overview
- The admin dashboard and AI-powered search
- CRM, forms, and paperless admissions
- The student information system and 360-degree profiles
- Assessment, grading, and AI evaluation
- Attendance tracking with QR and barcode scanning
- The integrated learning management system
- Fee and invoicing with payment gateway support
- Degree audit, transcripts, certificates, and alumni
- White-label branding and platform customization
Let’s walk through each one.
-
The learner journey
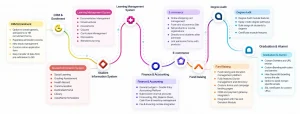
The demo opens with a diagram that maps the entire learner journey, and honestly, this is the most useful frame in the session if you are trying to understand what Classe365 replaces in your current stack.
It starts at admissions (CRM, forms, lead management, offer letters) and moves through to the student information system (profiles, grading, attendance), then into the LMS (virtual learning, curriculum, discussions, gamification), fees and invoicing, e-commerce, fundraising, degree audit, and finally graduation and alumni.
The key point made right away: these are not separate products bolted together. They are modules of one platform, and you turn on only the ones you need. If you are a K-12 school, you skip degree audit. If you are a university, you probably skip fundraising. The platform shapes itself around your institution type, not the other way around.
-
The admin dashboard and AI search
Once you log in as an administrator, the first screen is a dashboard that summarizes everything happening across the institution. Student count, teacher count, new enrollments, fee payments, attendance data, e-commerce transactions, CRM submissions, LMS completion rates- it is all on one page.
You will also see notice boards for broadcasting messages, event and class schedule calendars, form submissions, payment transactions, and even birthday reminders. A directory and skill-based search work like an org chart, and you can embed it on your website.
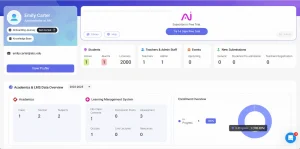
At the top of the screen, the demo shows two search tools worth paying attention to. The first is a standard global search for names and invoice numbers. The second is the one to watch: an AI-powered search bar where you can type plain questions like “how many students enrolled in the last 30 days” or “how many of them were male, export in Excel.” The system processes conversational queries the same way you would use any AI chat tool, except it is pulling from your institution’s actual data.
If AI is part of what you are evaluating, this is the first place it shows up.
-
Admissions and enrollment
This section of the demo usually takes the longest, because it covers the entire pipeline from a prospective student filling out a form to that student appearing inside the student management system with all their data intact, no re-entry required.
You get three form types: a generic form (feedback, evaluations, contact forms), a student pre-admissions form (enrollment and re-enrollment, the one that auto-feeds into the SIS), and a teacher registration form.
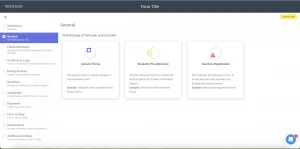
The form builder is drag-and-drop. You add fields, set whether they are required, choose field types (including signatures, ranking, opinion scale, and net promoter score), and then do the part that matters most for a buyer: map each field to a profile field in the student management software.
That mapping is what eliminates re-keying. When a student submits the form and gets enrolled, their data flows directly into their SIS profile.
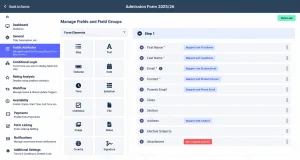
The demo also walks through conditional logic (show/hide fields based on answers, attach fees based on conditions), custom enrollment workflows (pending → interview → agreement → enrolled, or whatever your process is), notification setup, and form linking (chain a contact form to an enrollment form to a reference check form).
Once submissions come in, you see them in a Kanban board view, which is probably the cleanest part of this whole section visually. Each application card sits in a column matching its workflow stage, and you drag it forward as it progresses. Click any card, and you get the full submission, notes, attachments, meeting scheduling, linked submissions from prior years, and a task module where you can assign follow-ups to your team.
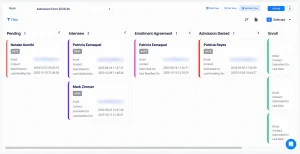
When a submission is ready, you click enroll. The student’s data auto-populates from the form; you assign courses, email or SMS login credentials, and submit. That student is now in the SIS. No spreadsheet in between. For more on what that SIS integration actually unlocks for data management, the guide to how a student information system improves data management in higher education goes deeper.
-
Student records: the 360-degree profile
You see a list of all enrolled students with bulk action options: send emails, bulk enroll, print ID cards, create invoices, generate document signatures, move students to alumni, or block access entirely.
Click any student to view a full 360-degree profile. Enrollment history going back to day one. Activity feed. Emails and SMS sent. Private notes (visible only to administrators and teachers). Behavior and disciplinary reviews. Attendance by session or subject. Report cards and consolidated transcripts. Class schedules. All fees paid and unpaid, with downloadable statements. Health records. Custom alerts (payment due, allergies, anything you configure). Form submissions. Task assignments. And a document storage section where every student file lives.
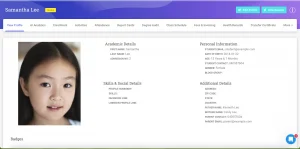
For higher education institutions, one tab inside the student profile is worth extra attention: degree audit. It shows the student’s assigned degree, every subject required to complete it, prerequisites, and whether audit requirements have been met before a transcript gets generated. This is the same degree audit module we covered in our guide to must-have LMS features for higher education, but seeing it inside a real student record makes the workflow click.
-
Assessment, grading, and AI-powered evaluation
You start by setting up the structure: grading scales (normal letter grades, GPA points, rubrics, percentage, or manual entry), subject weightages (30% participation, 10% quizzes, 40% exam, for example), grading periods (terms, semesters), and report card templates with full HTML customization.
Once the structure is set, teachers add assessments and open the gradebook. You will see an Excel-style grid where grades are entered per student, with a hover icon that tells you which grading scale applies to each column. Rubric-based assessments open a rubric scoring popup. You can also import and export grades via spreadsheet if that is faster for your team. Our breakdown of digital gradebook vs spreadsheet grading is useful context here.
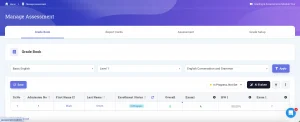
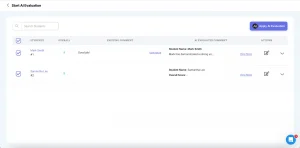
Then comes the moment that usually gets the strongest reaction. Select a group of students, click “Run AI Evaluation,” and the system generates a comprehensive written evaluation for each student by analyzing every assessment score, quiz result, homework submission, and teacher comment against the subject’s learning objectives. The output reads like something a teacher would spend hours writing at end-of-year reporting, produced in a few clicks.
You can add your own comments on top of it and use AI assistance to refine the writing. If end-of-year reporting eats a significant chunk of your teachers’ time (and it does at most institutions), this is the demo moment to watch most carefully. For more on where AI grading tools are heading, our roundup of AI grading tools for teachers puts Classe365’s approach in market context.
-
Attendance tracking: manual, QR scan, or barcode
You can take attendance the traditional way: select a cohort, select a subject (or take it by day only), mark students present, absent, or a custom status like “tardy” (which you can weight, for example, 50% present and 50% absent). Add comments, and before submitting, choose whether to send an absence notification to parents or students via email, SMS, or WhatsApp.
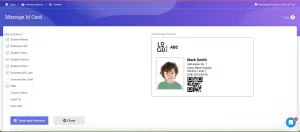
Students present their ID card (which includes a QR code or barcode) to any mobile device running the Classe365 app, and the system logs attendance automatically. For more on what attendance tracking looks like inside a student information system, our attendance tracking with SIS guide covers the broader picture.
-
The integrated LMS
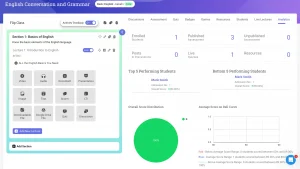
The LMS auto-populates subjects from your academic structure, so you don’t need a second setup. Each subject gets a workspace with four main areas: flip-class content, discussions, assessments (synced with the grading module you already saw), and quizzes.
The flip-class section is where instructors build their learning content. You create sections, add lectures inside them, and load each lecture with videos, audio, documents, PowerPoint files, SCORM packages, or LTI content. When a student clicks a video, it plays inside the browser. PowerPoints render inline too.
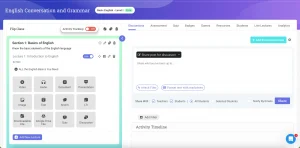
Activity tracking is where this gets useful for decision-makers. You can require students to watch a video for a minimum duration before it counts as complete, and then pull up a report showing each student’s completion percentage across all content. 66% done. 23% done. Click a student and see exactly which lectures they finished and which they skipped.
The demo also covers the quiz module (multiple choice, checkbox, true/false, matching, essay, document upload, with negative scoring and partial grading options), badges and gamification (house points, leaderboards, custom badges), live lecture integration with Zoom, Microsoft Teams, or Google Meet (with recordings stored inside the platform), and analytics.
The analytics section shows top- and bottom-performing students, score distributions in pie charts and bell curves, and a candlestick-style view per assessment. That last one is genuinely insightful: if a homework tied to a specific learning objective shows all students scoring in the lower percentile, the teacher knows to reteach that concept, not just move on.
-
Fees and invoicing
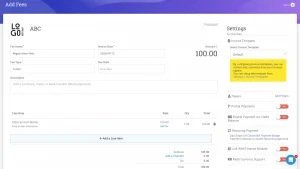
The fee module starts with standardization: invoice templates, payment methods, notification rules (send to parents only, students only, or both). Then you create fee categories (registration fee, tuition, lab fee, whatever applies), add line items with rates and quantities, and either save them as templates or invoice students immediately.
The highlight is the speed of bulk invoicing. You select a cohort, say Bachelor of Business with 100 students, and invoice all of them in one click. Or invoice by subject, by individual student, or even students still in CRM who haven’t enrolled yet. Recurring payments are built in (monthly for 12 cycles, for example), and it supports multiple currencies.
Payment collection runs through native integrations with Stripe, PayPal, Authorize.net, and roughly 130 additional gateways through the Classe365 payment bridge. There is also a virtual terminal for taking card payments when a parent walks into the office. All transactions, daily and monthly reports, and subscription tracking are visible in one section. If your current setup involves chasing invoices across email threads and spreadsheets, this part of the demo tends to land hard.
-
Degree audit, transcripts, certificates, and alumni
The degree audit section shows how you create a degree with credit requirements, assign required subjects from your course catalog, designate electives and course equivalents, attach a transcript template, and let students self-enroll into subjects tied to their degree path. Once assigned, you can pull up each student’s audit report to check whether all requirements are met before generating a transcript.
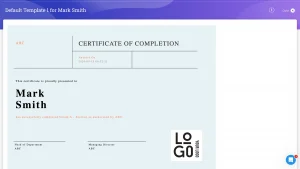
Certificates are template-based (use the defaults or build your own), and once assigned, you can print or email them directly from the platform.
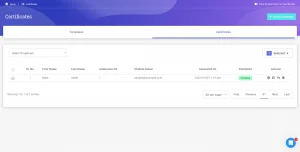
When a student completes their journey, you move them to alumni status. Their student license frees up (which affects your subscription cost), and they move into a section where you can re-engage them through email and SMS, give them lifelong portal access to learning content, or disable LMS access entirely.
-
White-label branding and customization
The white-label module lets you replace Classe365’s branding entirely: swap the logo, change primary and secondary colors, set a custom banner, change the login URL to your own domain (studentportal.yourdomain.com instead of yourname.classe365.com), and hide all Classe365 branding from students and parents.
You can also enable or disable individual modules, manage email templates, access the open API for custom integrations, and switch on multilingual support so users can select their preferred language across the platform.
One more detail worth noting: every subscription includes 24/7 support from a team spread across global time zones. They call it “follow the sun” support, meaning someone is always available regardless of where your institution is based.
Ready to see it yourself?
If any section above made you think “I need to see how that works with our setup specifically,” that is exactly what the live demo is for.
You can book a Classe365 demo and ask them to walk through your exact scenario. You can also compare pricing or read what other institutions say before you get on a call.
FAQs
Who should attend the demo from our team?
Bring anyone who will use or approve the platform. That usually means an administrator, someone from IT, and whoever manages student records or enrollment. The demo is technical enough for IT and visual enough for non-technical staff.
Can we bring our own data to the demo?
You can sign up for a free trial and set up your own academic structure before or after the demo. Migration support is included, and the demo mentions that the team recently onboarded an institution with 8,000 students in about two weeks.
Is the demo a live product walkthrough or a slide presentation?
It is a live product walkthrough. The Classe365 team shares their screen and walks through the actual platform, module by module.
Do we have to use every module shown in the demo?
No. You turn on only the modules your institution needs and leave the rest off. A K-12 school can skip degree audit. A university can skip fundraising. You don’t pay for modules you don’t use.
Does Classe365 replace our current LMS (Moodle, Canvas, Blackboard)?
Classe365 stands out with features like flip-class content, quizzes, activity tracking, gamification, and live lecture integration. It also integrates with Canvas, Moodle, and Google Classroom if you want to keep your existing LMS.
What integrations does the platform support?
Google Workspace, Microsoft 365, Zoom, Microsoft Teams, Google Meet, Stripe, PayPal, Authorize.net, QuickBooks, Xero, Canvas, Moodle, Google Classroom, and roughly 130 additional payment gateways. They also offer an open API for custom integrations.
Is there support available after we sign up?
Every subscription includes 24/7 support from a globally distributed team. The platform also has a built-in chat support channel, a documentation library, and deep-dive demo videos on YouTube for individual modules.